
One Pattern to rule them all; One Pattern to make them; One Girl to sew them, and with some changes, fake them!
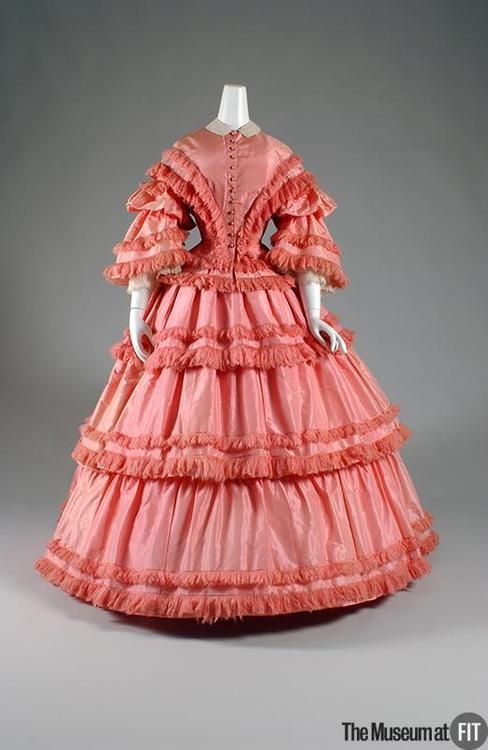
Autumn Day Dress, circa 1855-60
SO…
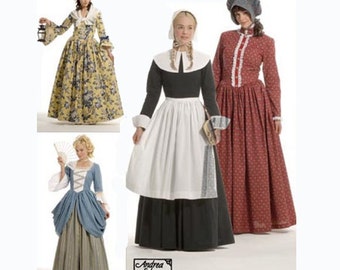
After much procrastination, consternation, and perspiration (the sewing room upstairs gets rather toasty), I finished assembling my modified-for-the-1850s Simplicity 3723 day dress!

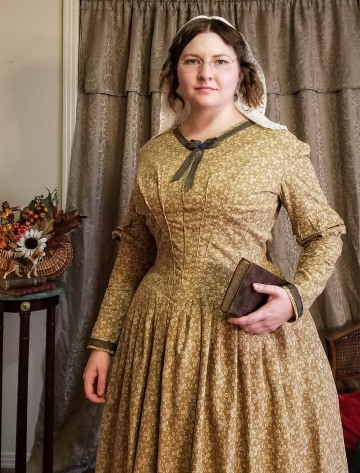
Hmmm….not so impressive.
While it looks pretty close to the envelope, if you think it looks a little “off” in that photo, you’d be right! This is a perfect example of how much undergarments matter. Simplicity 3723 is designed to be worn without a corset, but I fitted it over one for a more period look. However, since my corseted measurements and my uncorseted measurements happen to be exactly the same, I decided to take the opportunity to show how important proper undergarments can be. This is what the gown looks like without any petticoats, hoops, or a corset. It looks rather frumpy, doesn’t it?
You’ll also notice that even the pagoda sleeves, while lovely, look a little flat compared to what you’d expect. If you look at period photographs, you’ll notice that some ladies are wearing their wide sleeves alone, but most have fluffy while undersleeves filling out the cuff:

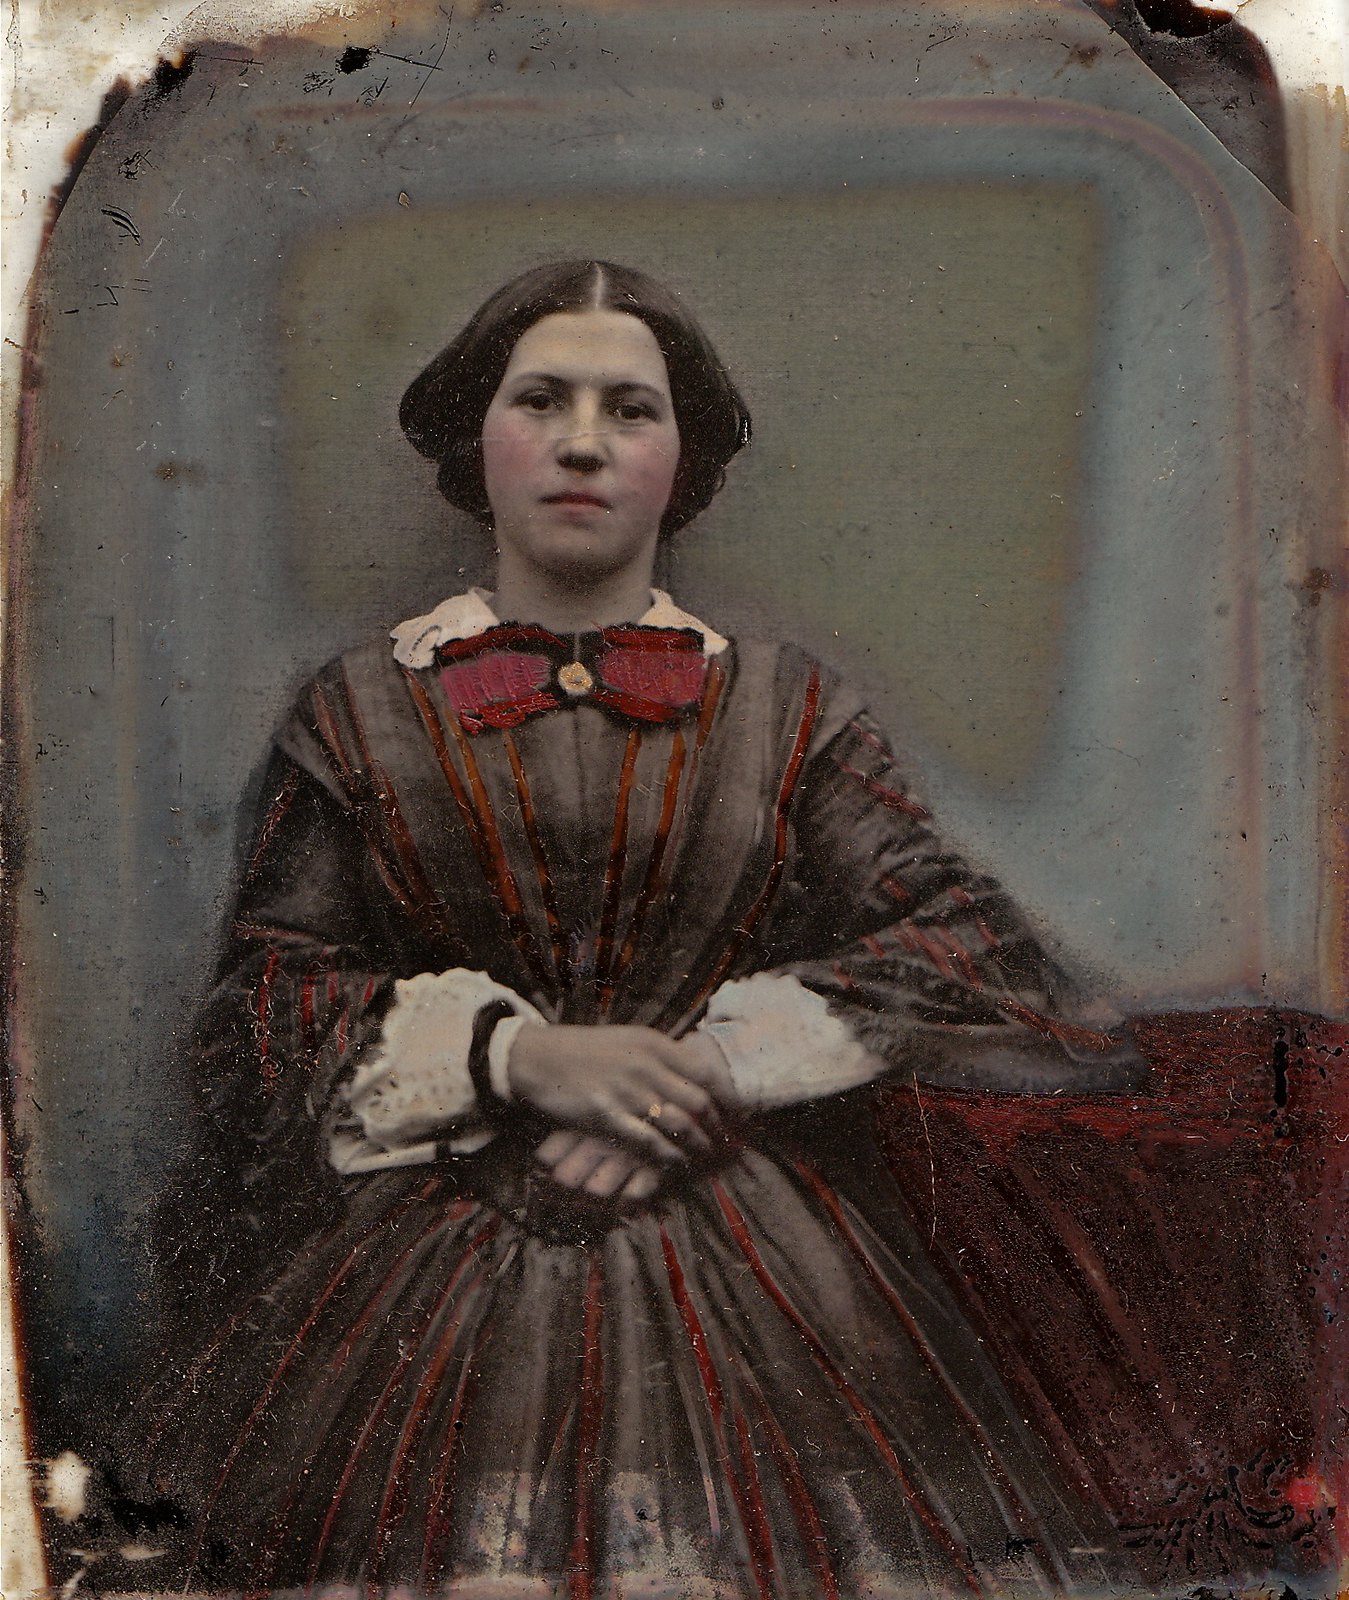
Handtinted Ambrotype of a Woman, circa 1855
Example of undersleeves from right around the time of my dress! Her undersleeves and collar are “Broderie Anglaise” (a type of homemade eyelet that was very fashionable in the 1850s). I like this photo a lot because she looks a bit like me. I even did my hair similarly. We’re history sisters!

Undersleeves, circa 1850-69
These are also decorated with broderie anglaise.
Undersleeves could vary from very fancy to extremely plain. For simplicity (Ha, ha! Jokes.), I chose to go with the latter. Making your own undersleeves is very simple! They are just two tubes of fabric gathered with drawstrings at the top and bottom. I used elastic cord for the drawstring because trying to tie drawstrings on yourself is impossible otherwise. Many undersleeves of the period had drawstring tops, but button cuffs for this very reason. However, I wanted something very quick and easy that anyone could make. By using elastic cord, I can dress myself.

I just measured the length from above my elbow to my wrist and cut that much off a bolt of 45 inch fabric, which I then cut along the fold, giving me two rectangles of fabric 18″ x 22.5.” This is about as “skinny” of a sleeve you can make. The fuller your dress’ sleeves, the fuller your undersleeves should be.
By 1858, hoop skirts were in full swing. I really want hoops, but right now, I don’t have the cash. Instead, I fit my dress over a cheap bridal petticoat I found in Goodwill for $7, a modest bumroll, and my “post-haste” petticoat.

Also: sock boobs!
I fitted the dress over a corset, but I didn’t put my corset on my mannequin because she is actually much longer waisted than I am and is nipped in and hard as steel in already!

My “post-haste” petticoat is just 3 or 4 yards of fabric with a drawstring waistband. it’s post-haste because I made it 20 minutes before an event in a panic! Now it’s been worn with everything from an 18th century dress to 1880s bustles!
So now:

Thanks in part to the heavy weight of the fabric, the final shape isn’t as defined and full as hoopskirts, but it’s still full enough to be period appropriate, especially for a common country woman. This fullness is actually perfect for 1840s, though! Now I know what to do for that decade when I get around to it.

The collar is just some soft net lace I had originally bought to make 18th century engageantes. I really wanted to use an antique collar, but I couldn’t find one the right size. This works well enough, though. I am really proud of how the tassels turned out. So much fun!

I notice a lot of pictures of museum workers standing by Victorian dresses, especially Queen Victoria herself, commenting about how tiny everything is. Well, it’s kind of an optical illusion. My dress looks pretty small compared to me, but that’s mostly thanks to modern clothes which aren’t fitted and cut across the body at the widest point. Also, you can really see just how much wide skirts make your waist look smaller by hiding your legs, which in my case are the skinniest part of my body. By hiding them, the eye re-focuses on the new skinniest place: your waist!
Before I could call my outfit complete, I needed a bonnet! No self-respecting 1850s lady, especially an ol’ married lady such as m’self, would be caught dead outdoors without proper headgear. Simplicity 3723 comes with a fabric sun bonnet pattern that’s pretty cute, but I didn’t want to be cute. I wanted to be petty, tailored, and stately in a modest-sized spoon bonnet that fit fairly close to my head. I also didn’t want to be too matchy-matchy. I had some dark blue ribbon that complimented the jewel tones of my dress and reminded me of this gorgeous bonnet in the National Trust Collections:

Bonnet, circa 1840-50
It’s dated a bit early, but simple enough that it could pass for almost any style between 1840 and 1860.
I used one of the many flower pot baskets out of my TV-intervention-worthy hoard as a base. As a few online tutorials suggested, I took off the top binding and soaked it in hot water for a few hours to try to remove some of the waviness in the brim. The basket straw is much thicker and brittle than hat straw, so I couldn’t get it as flat as I wanted, but slight waviness doesn’t seem to be a issue for these historical ladies:

Ladies of Davenport, Iowa,1863
My bonnet ended up being almost exactly the same shape as the one on the far left. Also: love that lady’s purse!
I rebound the edge with bias tape and in the process discovered that you never, EVER use “Amazing QuickHold” glue. Ever. It smells like skunk, makes the cat flee from the room in disgust, and causes the husband to ask many unflattering questions. It’s formulated to be thin, so it also soaks into fabric, leaving little frosted white patches when it dries. Do not recommend! I learned my lesson and went back to trusty old “craft” glue.

I would have sewn everything on, but once again the thick straw got in the way– and perhaps no small amount of pure sloth. I really do love my hat baskets, though. They’re really cheap, easy to obtain, and highly entertaining. If I mess one up, I don’t feel as bad as if I had invested in an expensive reproduction bonnet form or even a straw hat. When I found the flower choices at the local craft stores to be rather uninspiring, I made some cockades using this tutorial and added a tassel cut from the dress trim scraps to tie it together without being overly matching:

Bonnet cost breakdown:
2 yards navy ribbon – $4.75, eBay
2 yards mustard ribbon – $4.75, eBay
Hat basket – $1.59, Goodwill
1/2 yard net lace – $2, Hobby Lobby
2 yards pleated brown ribbon – $4.50, Walmart
Bias tape – $1.98, Walmart
Total: $19.57
Add some second-hand square-toed boots and I was ready to trundle everything out to my graciously obliging mother-in-law’s house for a photoshoot! Here’s everything being worn altogether:


Dress cost breakdown
6 yards printed cotton – $17.82, Walmart
2 yards burgundy cotton – $5.94, Walmart
4 yards tassel trim – $15.96, Hobby Lobby
1/2 yard net lace – $2, Hobby Lobby
Cotton sheet for flat lining – $1, Thrift Town
Hooks and bars – $1.69, Hobby Lobby
Brown poly-cotton thread – $1.98, Walmart
Total: $46.39
Accessories
Bonnet – $19.57
Bridal Petticoat – $7, Goodwill
Flat, brown leather ankle boots – $29, eBay (Talbots brand)
Collar brooch – Personal collection
Total: $102.50
(a bit spendier than I would have liked, but still cheaper than purchasing one pre-made!)
Aside from the still-too-small petticoat circumference, I’d say my foray into the 1850s was a success!
I think the biggest reason the outfit came together so well stems from the way I approached the project. Sure, I wanted to be a bit ornery and prove you could make something passable out of the barest of materials, but I mostly made this dress for myself, approaching the project as though I was making clothes, not a “costume.” I chose fabric, colors, and trims that I thought looked best on me, not just because they were historically appropriate or pretty on their own and I made sure that I could generally exist in it comfortably without feeling suffocated or weird. A lot of costumes I’ve worn in the past have always felt costumey, so they projected as costumey, too. While taking on a different persona can be fun, if you are historically costuming in general, you are still you, even if you are an accountant in Alabama portraying a fisherman’s wife in 17th century Spain. Naturally, you would wear what “they” would have worn, but you are also the one wearing it, so wear what you would wear, too!

Many thanks to Becky for allowing me to roam all over the back 40 and helping me take photos!
For construction details and the story behind this dress, check out Part 1.
HAPPY HALLOWEEN EVERYONE!
More dresses in my Simplicity 3723 series:

18th Century “Lady’s Maid” Dress

1880s Green Bustle Dress (aka the Lizzie Bordon Dress)


