NOTE: An earlier version of this post was originally written for Margo’s Patreon page in 2021. She recently announced that she will be discontinuing her pre-printed pattern service. This waistcoat/jacket pattern will remain available as a digital download (026D), but the paper pattern version will be retired when the current batch sells out.
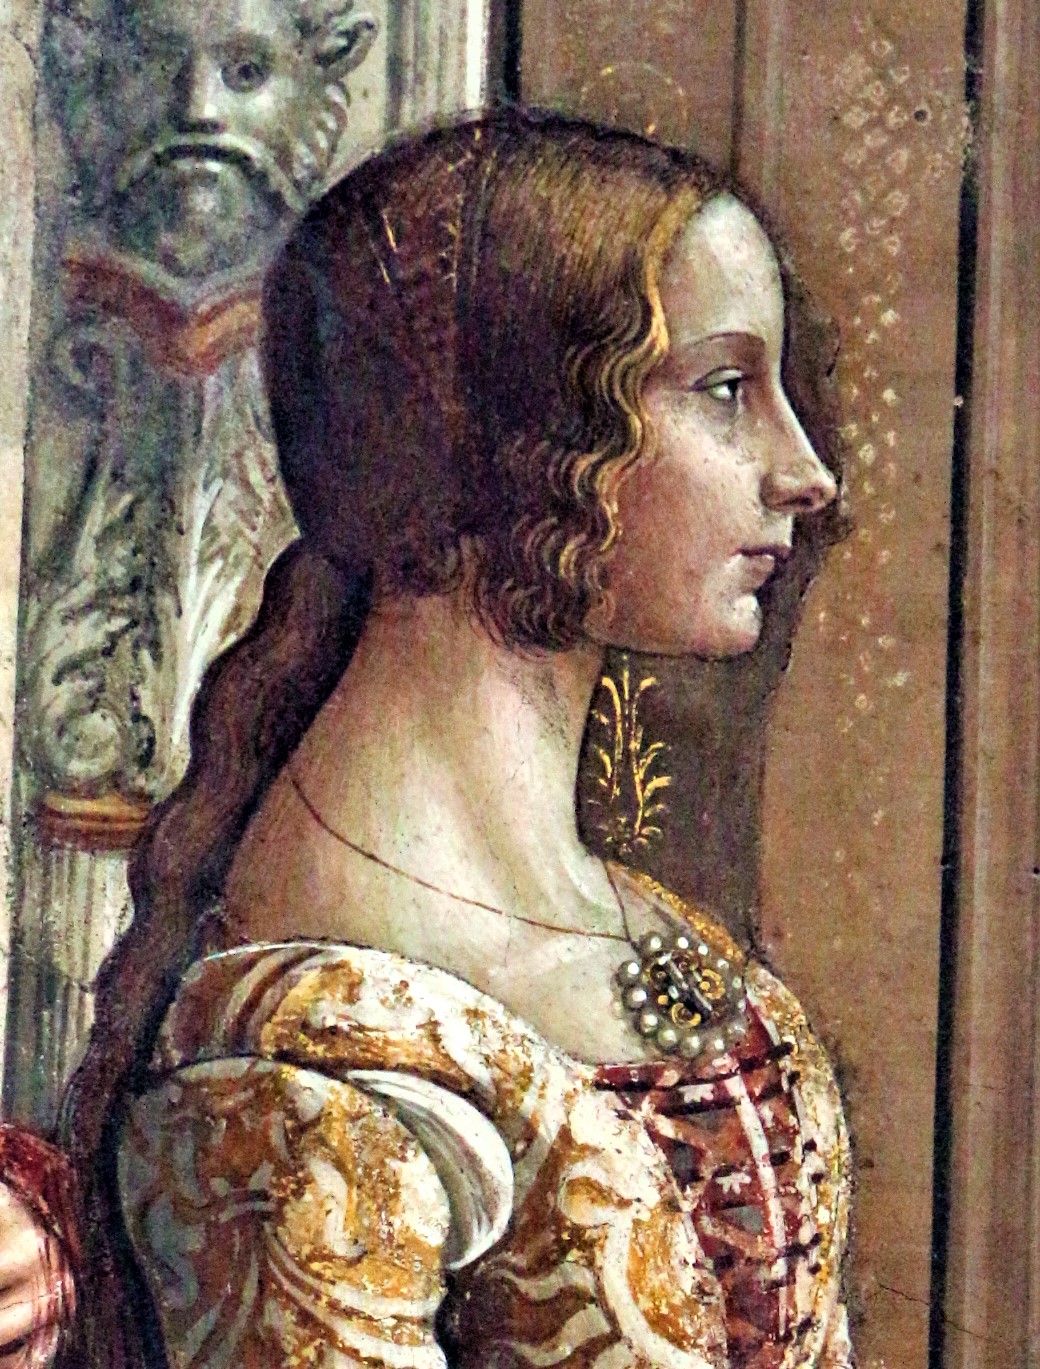
I have always coveted an early 17th century waistcoat ever since I first discovered them a decade ago. I loved how “frumpy-chic” they were: comfy loungewear that was often completely over-the-top with polychrome embroidery, lace, and spangles.
I even hacked a thrift-shopped modern jacket into a facsimile of a Elizabethan/Jacobean waistcoat in 2013, with surprisingly good results considering I just basted up the side seams with giant backstitches—not out of a love of historical accuracy (clearly, considering I kept the original zipper front of the jacket which also happened to be made of a spandex/rayon blend), but out of pure adoration for The Look.

Also pictured: The Walmart eyelet lace ruff I made by gluing the folds like a book with Tacky Glue and the coif made from a recycled shirt. Sorry for the gaps in many of my old posts. Links and photos have changed/moved/been deleted over the years and I hadn’t yet learned hotlinking was considered rude…
I vowed to eventually do the fashion true justice and make a proper version, but I never seemed to get around to it.
You can imagine, then, my elation when Margo Anderson asked if I would be interested in pattern testing the new Elizabethan Waistcoat pattern. What excitement! I was thoroughly gobsmacked. Here was I, long dreaming of making another jacket of this very sort and here was the perfect opportunity!

Pattern testing is a curious business. I had no idea what to expect! Margo provided the rough draft of the pattern pieces and manual. The draft wasn’t complete since it was still in production—we were pattern testing for that very reason, after all—but it already had illustrations for the majority of the steps, so I could guess what needed to be done by looking at the pieces and illustrations.
I have gained a bit more sewing and construction knowledge since my first baste-a-modern-stretch-jacket attempt, though only a smidgen more patience. However, my need for swift gratification was well-served and I found Margo’s waistcoat quite quick and enjoyable to construct. If I– an admittedly haphazard seamstress– can do it, I have confidence that anyone with a firm grasp of basic sewing techniques and a bit of ambition could make this pattern work. If you’ve ever made a Victorian bodice, 18th century bodice, or even a modern structured top, you would probably be comfortable making this pattern.
Pattern 024 contains different construction options like two sleeve choices (a two-piece slim/fitted sleeve or a one-piece full sleeve), high or low collar, and two different hip flare options (inserted gussets or a separate peplum).
I was asked to test out the separate peplum option which suited me very well since it eliminated the need to fiddle with inserting gussets. Margo, does, however, provide a clever method for doing so, should I opt to try tackling another version of the pattern in the future.

My measurements at the time.
I had no prior experience with Margo’s fitting system and feared that I might have some difficulty fairly testing the pattern since I normally have to perform quite a few major alterations to fit my large bust, short waist, and wide shoulders. As recommended, I followed her meticulous fitting guide, taking a multitude of measurements and filling in the appropriate boxes on the sizing chart. At first, I was anxious—my measurements were literally all over the chart! However, I trusted her system and cut out my mockup following Margo’s method.

To my absolute delight, with just a few minor tweaks, it worked!
I got an excellent fit pretty much straight away. The only alteration I had to do was a 1 inch Full Bust Adjustment (FBA)—considerably less than I normally have to do! Because of this, I was able to re-cut the front panels only and complete a wearable mockup of the pattern in a single weekend.

Additionally, because I did the peplum version, I was able to sew nearly everything by machine! While not historically accurate in the least, being able to sew the majority by machine means that folks like me who are impatient, messy hand-sewers, or needing to make it quickly can do so with little issue.

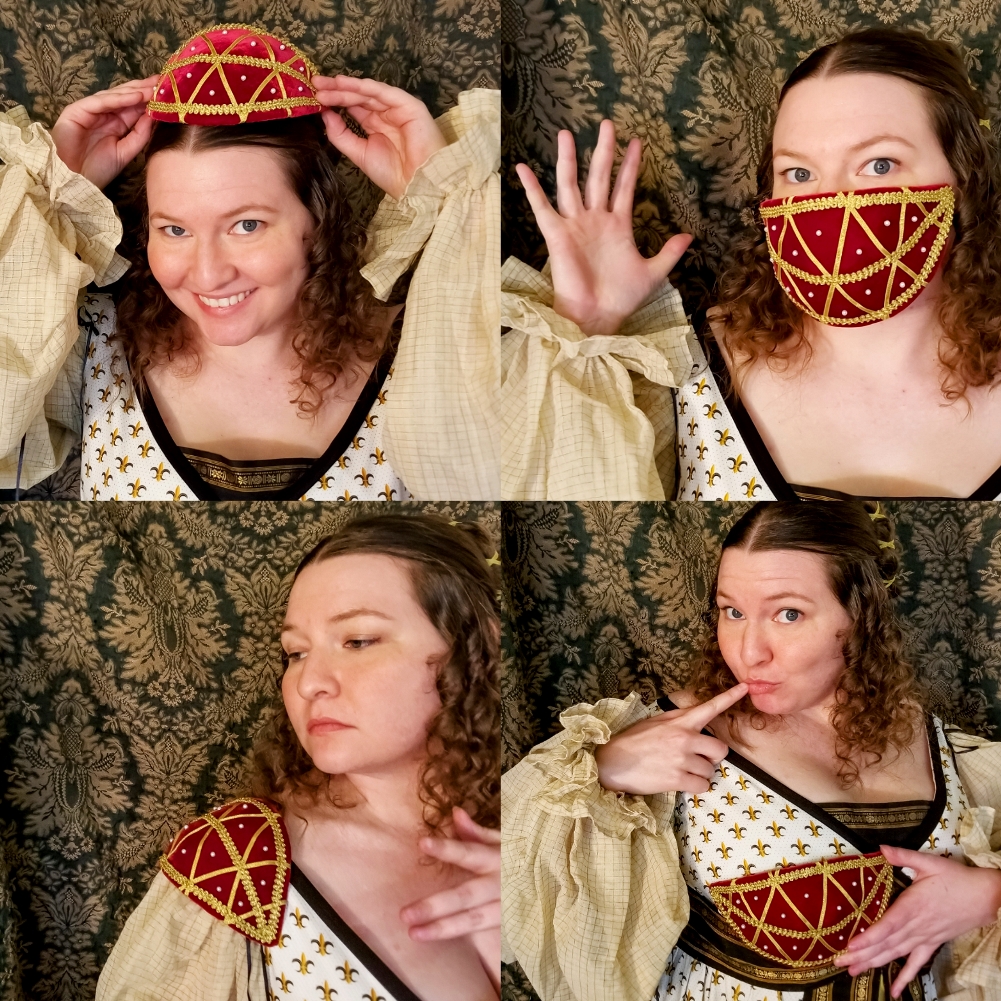
By far my favorite part of sewing Margo’s waistcoat pattern was the incredible sleeves! I absolutely adore full, fanciful sleeves! These are not only beautifully shaped and perfectly tapered (which is harder to achieve than you might think), they are easy to set and only one piece! Plus, as she pointed out, they offer an incredible full range of motion.
You can pick apples, bend down to tie your shoes, raise your hands fix your hat, stretch your arms out to the steering wheel over 4 layers of 4 yard petticoats, and, if anyone quips about “A lady never had to raise her arms,” you can whirligig at them in a righteous rage with ease.

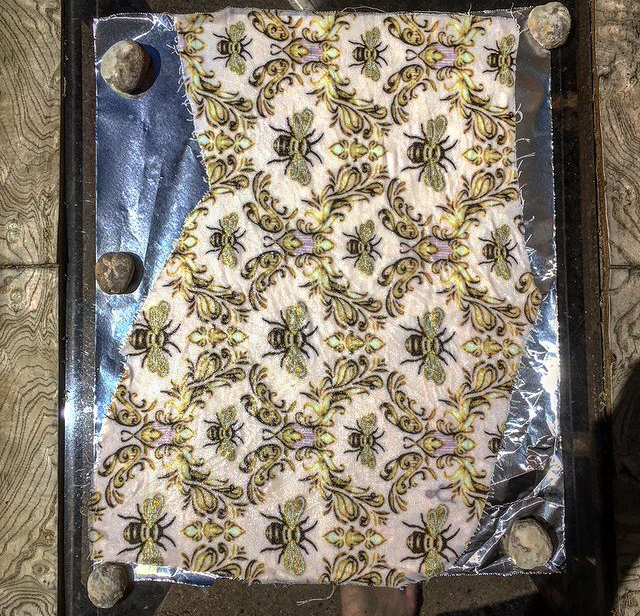
My jacket is made from a lighter-weight cotton duck printed with bees. It’s lined with an old curtain/sheet/something scrap. It is not interlined or boned in any way. I did opt to wear mine over a corset, but that’s personal preference. These sorts of garments would have been worn over stays or over just a shift to relax at home. To gussie it up a bit, I made some bows out of poly-satin ribbon and blinged them with some rhinestones rescued from an old sweater.

Elizabethan and Jacobean jackets can close with actual ribbon ties, but I am horrible at tying bows, so I opted to close my jacket by pinning my pre-sewn bows on instead. Hooks and eyes would also be period-appropriate. I also pieced together a collar and cuffs from a thrifted silk shirt and Walmart lace.

I made up a “pattern” for my collar by heedlessly hacking up the fabric until it fit the neckline that way I wanted. If you’d like a smarter approach, try one of the many free detachable collar patterns out there, like this one that’s a similar shape.

I am not a perfect seamstress by any stretch, but I was still able to create a lovely, comfortable garment I can be proud of, and it was just a first-try mockup! Margo has since updated, refined, and published the completed pattern and manual on her website and other folks have made awesome waistcoats of their own from it.
Many thanks to Margo for affording me the opportunity to test her waistcoat pattern!
You can visit Margo’s shop here.