18th Century Sewing Adventure #2 – Part 3
Undergarments and Accessories
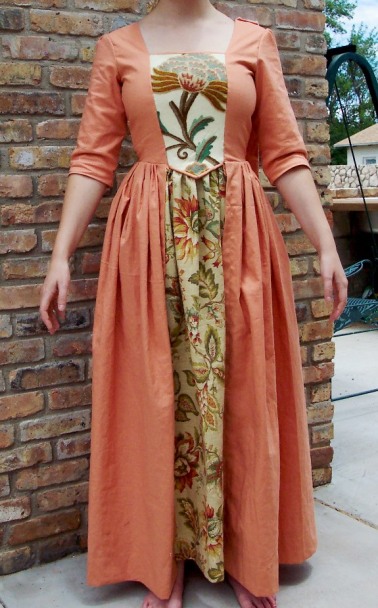
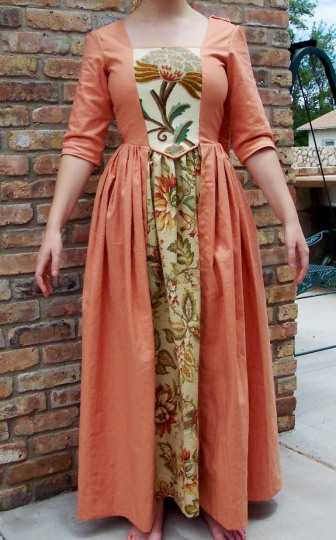
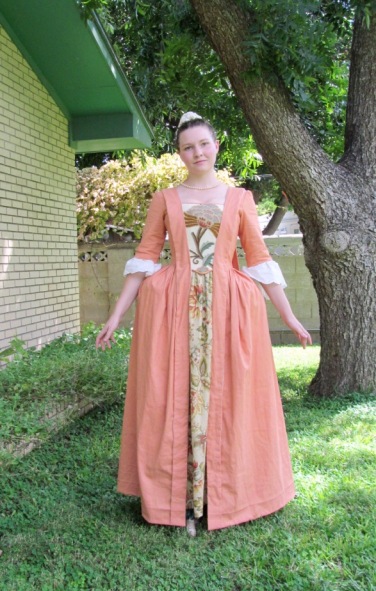
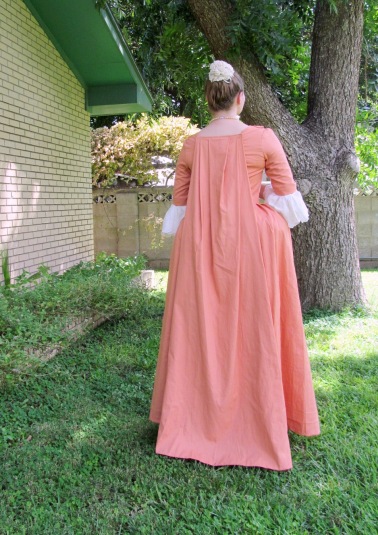
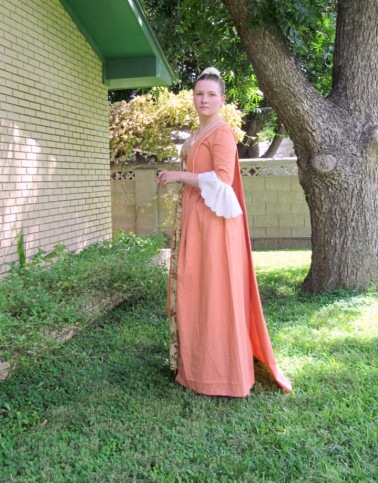
In my latest project, I attempted to turn the less-than-flattering Simplicity 3723 pattern into something more obviously 18th century. By following the pattern directions (for the most part), you get this:
It’s not terrible, but…well…okay, so it is terrible.
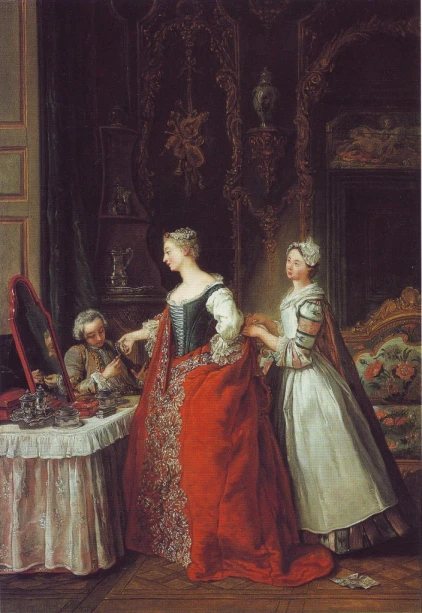
The silhouette is too round and the front molds around the breasts, fitting more like a mid-20th century dress than a mid-18th century dress. Ideally, the dress should be flared out at the hips and the bodice should be a smooth cone shape (thanks to the lady’s stays):
“A lady showing a bracelet miniature to her suitor” by Jean-François De Troy circa 1734 (Nelson-Atkins Museum of Art)
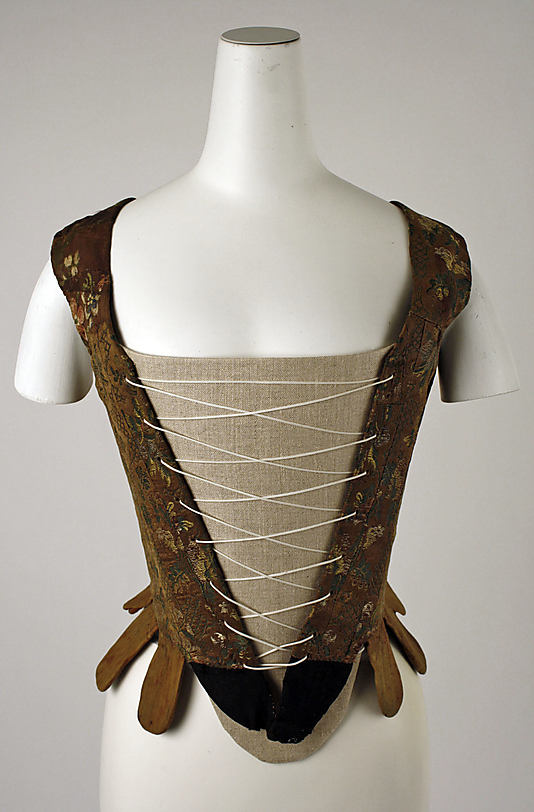
I was aiming for a middle-class maid’s look for the 1740s, when panniers were in full swing. So to turn my gown into something presentable, I needed to get rid of the rounded skirt and smooth out my girlies. An 18th century woman would have worn a pair of custom-fitted stays, usually made of cane or whalebone sandwiched between layers of fabric. In the 18th century, the fashionable silhouette was a coned-shaped torso with ample cleavage. There were many styles of stays throughout the 18th century– some were one piece, some were two, some had stomachers–but they all achieved a triangular look:
Stays with Stomacher (reproduction), circa 1750
Mid-18th Century Taffeta Stays by the Staymaker
I do not own 18th century stays, at least not any that are finished. I have started many a pair, but I am not apt at fitting and I’ve pretty much abandoned the project after ruining two pairs and gaining 15 pounds. Not all of us can be stay makers or afford to invest in a pair, especially if you only costume occasionally, but there is a pragmatic solution in a surprising place.
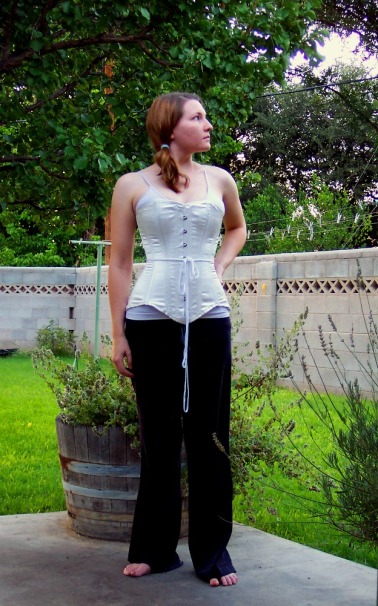
Cheap corsets are the bane of many a professional costumer or corsettiere, but they offer a surprising benefit to casual costumers. Cost effective and easy to find, lower-end corsets often do not have the sumptuous curves of a Victorian or vintage-inspired corset. This is frustrating if you want an hourglass shape, but for 18th century costuming, a straightened silhouette is encouraged. The stiff foundation is what’s most important and the smoothed rather than enhanced bust is a plus. I bought an inexpensive, all purpose, steel-boned corset from eBay which has become my go-to for costuming (for everyday wear, however, I recommend a more sturdy corset):
It has 20 steel bones and can reduce my waist 3 or 4 inches, but for my Simplicity 3723 project, I laced it so that it only reduced my waist one inch (from 29″ to 28″). This particular style of corset (and many others like it) does not take a naturally large breast-to-waist ratio into account, so if you are top heavy like I am, the corset does an excellent job of flattening my front and giving me some stunning cleavage. The tubular shape of many low-to-mid range corsets is just fine for 18th century costuming. I’d advise getting a corset with plastic bones, however. Stick to one with steel boning, even if it’s only 10 or 12 bones. You do not have to lace tightly at all! In fact, unless you are making a huge fancy court gown, 18th century stays were worn for shaping and support, not drastic reductions.
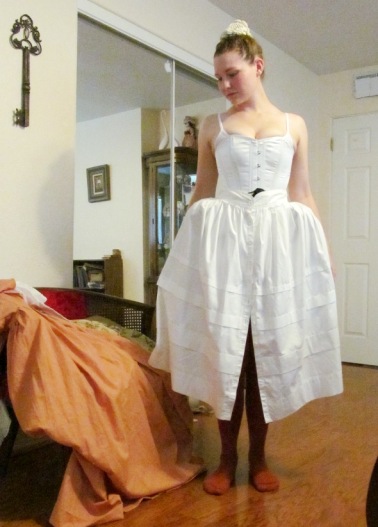
A corset alone, however, is not enough to achieve the flouncy look of the mid-18th century. I need some hips, and at 35 measly inches, my tiny natural one fall far too short of glory.

Cane and Ribbon Pannier, late 18th century
Panniers and bum-rolls were widely used to fluff up a woman’s curves. Some panniers were more like squared walls than curves and could be made from a variety materials including metal, cane, or stuffed pillows. The higher up in society you were, the more extravagant the width of your pannier! I wasn’t going for a court gown, so I took American Duchess’s handy pannier guide into account and made myself some cheap-o pannier pillows out of leftover flannel and some bias tape.
Boom! Hips, baby!
These panniers are rather small compared to court panniers, but it would be unseemly for a lady’s maid to outdo her mistress’s bodacious hips, so my little bump-outs are just dandy. I read somewhere that these comparatively small hip pads were called considerations (i.e. I considered wearing panniers, but then…) and were proper for morning wear. But since I can’t find the source, don’t quote me on it. Anyways, panniers alone, especially cane ones, would show through the gown rather inelegantly, so wearing at least one petticoat helps soften the lines. I used my favorite old standby, a thrifted button-front skirt from Goodwill:
This skirt was probably the most useful thing I’ve even found at a charity shop. It looks great with modern clothes, dressed up to look vintage, or used under my costumes as fluff. In this case, a longer petticoat would have yielded a better shape at the bottom of the skirt, but being what it is, this old skirt does admirably!
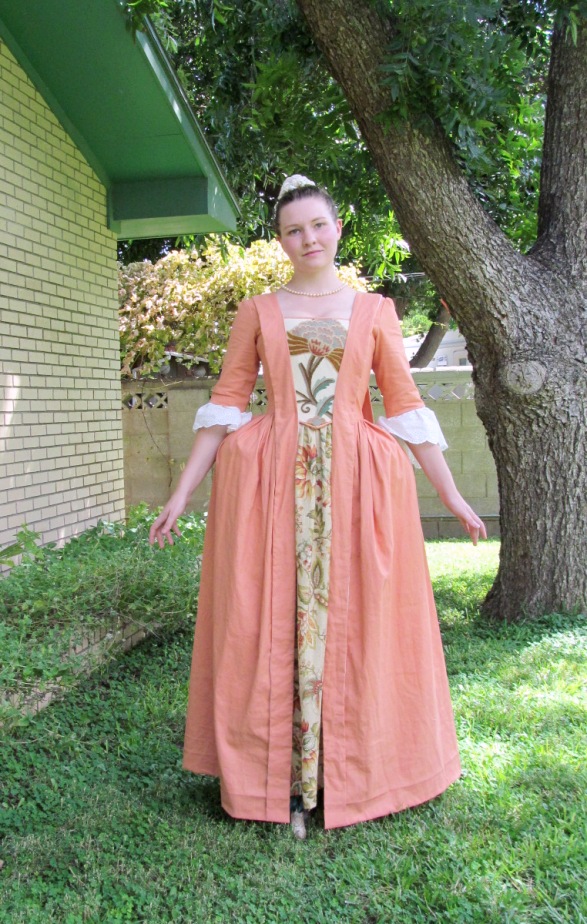
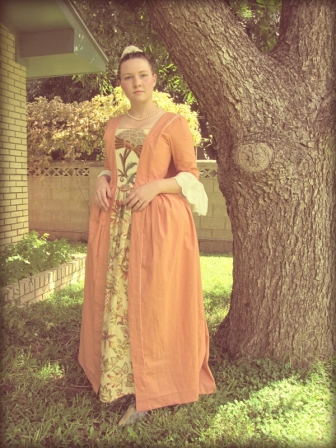
As soon as that was done: voila! Instant improvement:
Silhouette is the most important feature of historical costuming. Even with the craziest, most inaccurate fabrics, a properly (or semi-properly) supported silhouette can make a dress look 100% improved!
With the silhouette fixed, the dress part of this experiment is complete! However, I may cheap out on method and material, but I at least attempting a full outfit. A finished dress is fabulous, but without at least some accessorizing, even the grandest dress is incomplete. There are a few basic necessities like shoes, hair, and make-up which cannot be ignored. One of the biggest components to a complete toilet is a lady’s shoes:
These are my American Duchess Pompadours (version 1.0) that I dyed and decorated. They are the biggest costume splurge I have ever made, but they look so swanky, even the miser in me considers them well worth the money! Another reason why shoes are important: your hemline. These shoes add a full two and a half inches to my height. The first time I sewed the hem of the Simplicity 3723 dress, I completely forgot to take this added height into account and made the hem too short! I had to let it out and re-hem the whole thing, a step I could have avoided if I’d just remembered the heels.
Accompanying my Pompadours are my bright red knit stockings, which are O Basics in “Rust,” from the addictive website, Sock Dreams. If you could tear your eyes away from my magnificent hips, you can see the entirety of my stockings in the picture of my panniers. The socks reach over the knee and are quite warm– a boon in the winter, but right now in the summer heat, they can be a little trying. I have another version of these stockings in rayon and flax, which I absolutely adore as well. I highly recommend these over-the-knee socks, and at $7, they’re a great buy! They have stretch and stay up well on their own, but you can wear garters over them easily. I’d be wearing my ten-minute garters, if they weren’t packed away for moving.
Another essential outfit component is hair. I’m terrible at hair. Curling, braiding, ribbons, nets, clips, extension, and all that jazz have never worked for me. I can do most of it on someone else, but on me? Forget it. I was going to try something more elaborate this time around, but I got frustrated and ended up enlisting my sister to give me a simple bun. It’s not flamboyant, but it gets the job done and is quite fitting for a lady’s maid.
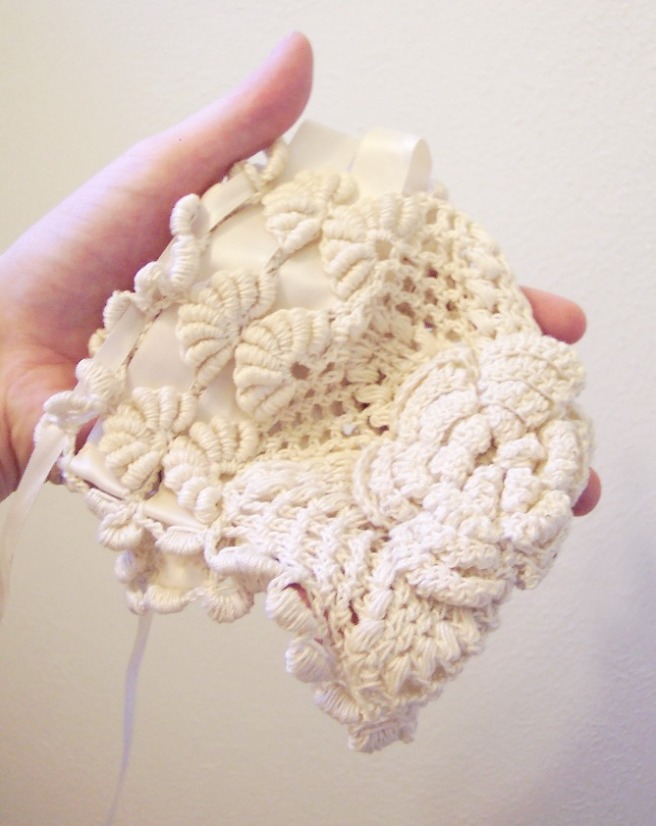
To dress it up, I wanted a little coif like this:
“Laundress” by Henry Robert Morland
But Amelia found this adorable vintage baby’s bonnet in the box of linens and–surprise!– it fit my bun perfectly.
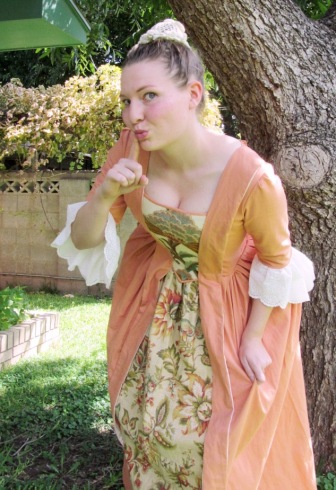
With my adorably bonnet-ed hair finished enough to be passable, I decided that I needed to properly tart myself up, 18th-century style. A good lady should be pale, but with cheerfully pink cheeks and lips. So I powdered my face lightly and used a freshly sliced beet as a kissing companion to give myself a naturally unnatural rosy glow:
This photo was taken at the end of the day, after I’d taken all the other photos, hence the un-bonnet-ed, messy bun. I literally sliced the root-end off a beet and applied it directly to my face. It’s a red beet and has surprisingly little sugar in it despite its sweet taste, so it is not sticky. It is a semi-permanent stain. It will last very well, especially on your lips, even if you nibble on a snack or talk way too much too loudly.
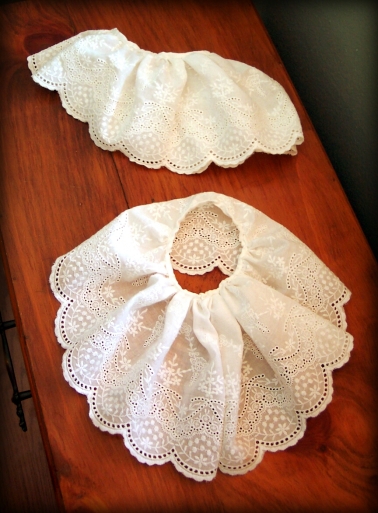
And…done! At least done enough to be presentable. The only other accessories I used were my sleeve ruffles and a strand of faux pearls I borrowed from Amelia for a few pictures. I’d like an apron and a better fichu; my current fichu is too long to tuck nicely, especially since this dress’s neckline is too high. There are so many other accessories to add to an 18th century gown: hats, chatelaines, wallets, brooches, chokers, earrings, face patches, wigs, fans…the list goes on!
You can read more about my Simplicity 3723 project in these posts:

