6 Steps to Fabulous!
Once again, I am breaking my vow to keep HSF posts off of my blog. However, this project has actually been on my plate for quite some time and by some miracle, it’s completion happened to coincide with HSF Challenge #11.
Since my costume fascination began, my favorite era has been the 17th Century. In particular, I fell in love with blackwork. However, I am incredibly inept at embroidery, almost to the point of being that cliché historical fiction character that scandalizes her family by acting like a impetuous tomboy…

Extras inside indeed: an extra dose of terrible embroidery skills and stubbornness, that is.
…okay, so that really would be me…
Though I have no embroidery skills, I do have enough hand-sewing skills to make me a decent small-scale seamstress. Combined with my love of the 17th Century, blackwork, hats and thrift, I have the perfect set of skills to be a decent coif maker, or at least an excellent blackwork coif faker.
Inspiration
I started this project without a pattern, just pictures and measurements from various online museums. I basically followed my wobbly seamstress instincts. The subsequent tutorial follows the method I developed to create my coif.

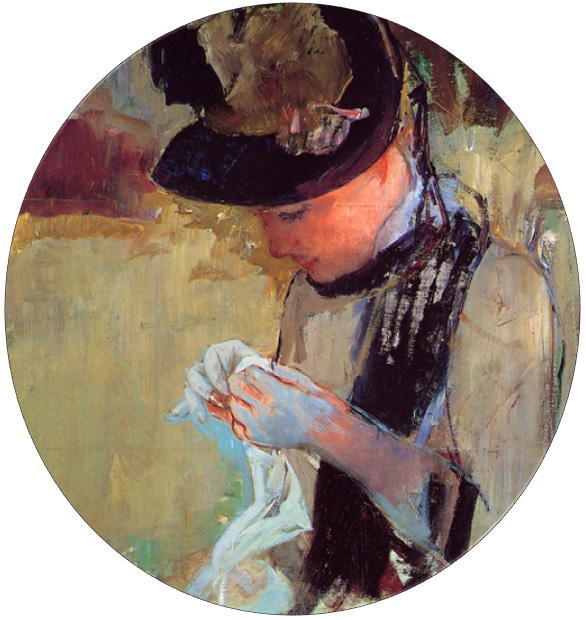
Detail of “Portrait of a Bride” by Johannes Cornelisz Verspronck
Besides her pretty coif, notice how tightly the wire of her headdress is pressing into her cheeks.

English Woman’s Blackwork Coif, circa 1600

Top Stitching and Gathering Detail on an English Woman’s Coif, circa 1590-1610
(see Step 5)

Women’s Coifs showing repetitive patterns and a variety of shapes, circa 1600
Another pair of similar coifs are also in the V&A, notable for one’s bottom edge: “Along the bottom edge, instead of a turned casing there are a series of loops braided in linen bread and stitched to the coif.” Another option for Step 4!
How to Make an Elizabethan/17th Century Coif

Illustrated in Microsoft Office Word for your convenience and pleasure!
 I used newsprint to create my pattern. Coifs from this period come in a variety of shapes, but most are based on a simple rectangle of fabric cut into a gentle urn shape. The top of the urn forms a widow’s peak at the top of the head and the curved bulge covers the ears. You can make your shape as simple or extreme as you like. Here’s my pattern:

You can test the paper pattern by pinning the top edges together. Bear in mind that the fabric coif will be smaller because of your seams.

Opportunity for excellent party hats? I think so!
 Since I cannot embroider well enough, I prefer to use pre-embroidered fabric. Finding a pre-embroidered fabric with a proper motif and decent colors on a suitable fabric can be a real challenge, but I was lucky enough to find an embroidered cotton shirt for $3 at the local thrift shop. While it’s not perfect, it’s close enough!

After two weeks of searching for the perfect blackwork fabric, this is probably the most gorgeous thing I’d ever seen in my life. If finding an embroidered fabric is too difficult, you can use plain linen or silk.
I plucked the seams out, leaving me with enough fabric to make about 4 coifs.

Chinese machine embroidery is fairly easy to unpick, but it did leave prick marks down the edges and where there were darts. A little steam ironing helped make them less noticeable.

I can make two coifs from the back panel and one from each of the front panels.
For my lining, I used some cheap cotton sheeting from my stash. Elizabethan coifs could be lined or unlined. Many had removable linings so when the inside got dirty, the lining could be removed and washed, saving the delicately embroidered outside from wear and tear. Since my fashion fabric is completely washable, I sewed the lining into my coif as a permanent feature.

I really wish I’d taken more construction pictures, but I was too excited to pause for photos. I sewed my coif using backstitches set about 3/8 inch away from the fabric edge for clean seams. If your lining has a right side, make sure it faces teh right side of your fashion fabric so when you turn it inside out, it faces the proper way.
 The drawstring casing can be done multiple ways, but just turning up the bottom edge worked best for my coif. I used backstitching again to close the casing because it’s strong and you can manipulate the stitches so that they hardly show up on the outside of the fabric. Since the seam can be seen from the outside of the coif, I made sure the outside stitches were as small as possible.

This is the front edge of my coif, showing the smooth seam you get when you use the “pillow” sewing method to connect your lining. To make the front edges crisp, iron them from the lining side before and after sewing the drawstring casing. You can see the stitches on the inside of the drawstring casing on the right.

This is the most complicated-looking step, but it’s actually rather simple. You’ve already finished 2/3 of the top edges by sewing them in step 3, so all you need to do is whipstitch the very top edge shut with small stitches. When you reach the end of you finished edge, sew around the unfinished edges. You can adjust how your coif fits by gathering more or less fabric. Gathering less fabric will make the coif pointy at the back while gathering more will give it a rounder look.


I used bias tape fror my drawstrings because it was what I had immediately on hand, but you can make ties out of yarn, linen tape, twill tape, shoelace, or braided cord. Threading your ties can be tricky. Some people like to use safety pins while others use wire to help guide it through the casing. I used a cheap, thin pair of tweezers to hold one end of my drawstring while I used the other end of the tweezers like a giant needle, pushing it through the casing.
Done!

I would like to trim my next coif with a little bit of lace along the front by sewing it inside the seams in step 3. I would also like some twill tape for ties instead of my last-minute bias-tape drawstring, and to take pictures with the strings wrapped around the top like they are supposed to be worn. But for a blind first attempt, I’m rather proud of it!


HSF Breakdown
17th Century “Blackwork” Coif
The Challenge: #11 Squares, Rectangles and Triangles
Fabric: A thrifted cotton shirt with cotton machine embroidery lined with even more cotton!
Pattern: I basically just measured a rectangle using coifs documented at the V&A and cut a light “urn” curve into the sides
Year: 1600-1630
Notions: Cotton thread and bias tape
How historically accurate is it? 50% It’s not linen or silk, but it is all natural fibers. The embroidery pattern is entirely modern, but from a distance, if you squint, it looks fairly legitimate. The construction method is pretty accurate as is the size and how it sits; however, I have much more hair than this coif can contain. It will sit on my head by itself, but I feel more comfortable tying it on so I don’t feel like it’s constantly going to fall off. Next time I will make the coif a bit deeper or try using hair pins to hold it on.
Hours to complete: 3 hours
First worn: By me…at 3am…in my apartment
Total cost: $3 for the embroidered shirt, stash sheeting, and stash thread
A matching forehead cloth would also be nice, and I have plenty of fabric left over for at least one!

Coif and Forehead Cloth, circa 1610
More Coif Tutorials and Information
“Full-length Coif Tutorial” – All of the steps from this page in one looooong image
“The Coif Question” by Kate at Dressing Terpsichore – Explains why most extant coifs are one-piece, but most paintings appear to have two-piece coifs
“Elizabethan Coifs!” by Morgan Donner – Examples of how a coif should be worn with a forehead cloth to get the proper look
“Coif Patterns” at No Strings Attached – Multiple patterns for different styles of coifs
UPDATE!

Truly Hats now offers coif-sized blackworked (by machine) fabric for only $10! The pattern is a replica of an extant 16th century piece.

I love this! The fabric you found is so perfect.
Thanks! I looked for the perfect fabric for the longest time, and then, the one moment I wasn’t looking for it, this shirt appeared! It must have been a sign from the fabric gods.
It came out very well! Have you ever come across this experimental archaeology on the wearing of the coif?
Yes. It is an excellent article. Most historical clothing scholars now agree that the wrapped-bun method is the correct way to make/wear a coif. You can find more coif information in the links at the end of the article, most dealing with the wrap-method of wearing. My coif not tied around my bun because it was 3 am and I had no time/energy to give a hoot about doing my hair properly! :P